Wednesday, 19 October 2022

Illusion Knitting

Elephant in Illusion Knitting

Illusion knitting is the easiest thing and also highly effective. You knit fabric in two row stripes. On the right side every row is knit stitches. The stitches of the wrong side rows determine which colour is raised and therefore visible. The background fabric is composed of two rows in colour A in stockinette, the next two rows in colour B are in garter stitch.

Elephant viewed from above. All you see is stripes.
The wrong side of the fabric allows you to see the shadow of the design. 


Tuesday, 1 September 2020

Rainforest Socks

Strange times have had me slow down a little and reflect. I discovered that I wanted to do something to simplify my life. For that reason this design uses an easy stitch pattern with a 6 stitch repeat. It looks complex but isn't. Instead it provides a satisfyingly intricate effect with very little effort. 

I would like to introduce my latest sock pattern

The Rainforest Socks are worked top down with a short section of 1x1 rib, a stretchy lace ribbed top and a lace pattern all around the leg of the sock. The heel is knitting in a slip stitch pattern creating a heel flap and turned heel with gusset. For the foot, the lace pattern is continued down the top of the foot. The wedge toe is worked in stocking stitch ending with only 12 stitches to graft together. 

It was published in the August 2020 Edition of Addicted to Sock Knitting zine courtesy of @yarn.struck
The yarn was hand dyed by Naomi Cork of @thedyeshack

Tuesday, 25 February 2020

Layered Colorwork - Knitting Intarsia in the Round


Layered colourwork is a new name for knitting with two strands held together. The tension of both strands is the same. Sometimes the background colour is wrapped to the right of the contrasting colour yarn which hides it, or if it lies to the left of the background yarn it shows through producing an overall mottled effect. It is best suited to a large area of intarsia without any fine detail.


As a sock knitter the question is: “How do I do that in the round”? Essentially it is a special case of intarsia in the round. It is necessary to allow for the fact that even though you have an area of contrasting colour you also use the background yarn to knit it. After experimenting and much research, this is what I have found.

The technique works best if you use a much thinner yarn for the coloured area. For a sock I used 4 ply sock yarn and the heart motif is sock yarn held together with mohair laceweight yarn.


Method 1:

Stranded / intarsia hybrid.
It is possible to knit in the round, however to use bobbins in order to strand across the motif only. There are no strands between the motifs. The strands are kept short by using more than one identical bobbin for each area of colour. I found that the transitions were visible therefore it is best to stagger the area covered using each bobbin. For example you could use the chart below, knitting entirely in the round and two bobbins of coloured yarn for each heart, four in total for the round.
(The orange squares are worked with a second strand of the same colour as the red squares).


Method 2:

yo turn.
At each turn you start the row with a yo, which you decrease with the last stitch of the row using either ssk or p2tog depending on whether it is a knit or purl “row”. My attempt at this was neat and produced a flat join. For a sock leg with 56 (64, 72) sts the instructions would be:

Row 1: P1, k54 (62, 70), p1. Turn.
Row 2: Yo, k1, p54 (62, 70), ssk. Turn.
Row 3: Yo, p1, k54 (62, 70), p2tog. Turn.
Repeat rows 2 and 3 until desired length before inserting chart.

Method 3:

Lift a strand from the neighbouring stitch (the last stitch of the row) which you decrease together with the first stitch when turning to purl back. This is very similar to doing a left or right lifted increase and closes the turning gap by joining the start to the end of the “round”. I had difficulty doing this because the strands were too tight. Perhaps with practice, but all in all I gave up on it.

Method 4:

Hide the turning gap with a wrap and turn (or double stitch).
Depending on the yarn you use, the wraps can show, although with the German “double stitch” (DS) method this can be almost invisible and therefore a good choice. In my sample the stitches next to the turn were tight followed by a loose stitch next to that.

If you place the turning point next to your motif, any imperfections will show next to the design you intend to show off, making an end of round on the other side of the sock a better choice.

For the double stitch method and using a turning point at the end of the round, the instructions would look something like this.

For a sock leg with 56 (64, 72) sts.

Row 1: K54 (62, 70), p2, turn.
Row 2: DS, k1, p53 (61, 69), knit the DS through both strands, k1, turn.
Row 3: DS, p1, k53 (61, 69), purl the DS through both strands, p1, turn.
Repeat rows 2 and 3 for 1”, ending with a row 2.

Once you have set this up, you insert the chart twice in the round.

The stitch counts in rows 2 and 3 are correct, as the reverse stocking stitch is worked twice.


Method 5:

Using any method, it is possible to hide irregularities using seam stitches.

As all methods produced at least a minor visible irregularity I wondered if there was a way to optimise. That was when I remembered that traditionally stockings were knitted with a “seam stitch” which is purled. Therese de Dillmont describes the “seam stitch” as follows: “To ensure the right proportions between the several parts of a stocking, the following directions should be attended to. …. When the top part is finished, you make the seam, at the beginning of the first needle of the round, of one, or two purled stitches, or sometimes, a narrow pattern of purled stitches. This marks the middle of the stocking.“ Encyclopedia of Needlework p.178, first published 1886.

In my sock leg the transition from stockinette to reverse stockinette “seam” stitches hides the position where the turn was performed. The turns recede into the leg of the sock. 

Tuesday, 15 October 2019

"Winter is Here" Sock Pattern


 I was keen to try out stranded colourwork and also wanted to have a go at something inspired by Latvian Mittens. I own a copy of Maruta Grasmane's Mittens of Latvia so it has heavily influenced my choice of pattern. I liked the round patterns as well as the bold snowflake. They are in fact suns and symbolise renewal, life and transformation or rebirth. 

This is the result. It is a top down knitted sock with a heel flap and turned heel, gusset construction. In colourwork socks the heel diagonal can often be too tight because there is less stretch possible than would be the case in other socks. For that reason it is necessary to pick up enough stitches along the edge of the heel flap to account for this. I find that measuring the heel diagonal and picking up stitches in gauge helps.

If H is the heel diagonal measurement (widest measurement around the heel) and G is the stitch gauge then you need a total of

HxG/10 stitches around the heel.

These stitches are the sum of the instep stitches across the top of the foot, the sole stitches left over after turning the heel and the stitches picked up along the two sides of the heel flap.

(The picture right was taken before I had enough stitches for the gusset).

If you would like to buy this pattern it has been included in the October 2019 Issue 18 edition of Addicted to Sock Knitting ezine or you can buy the pattern separately in my ravelry store.

Buy "Winter is Here" Socks pattern on ravelry

Subscribe to the Addicted to Sock Knitting ezine (you need issue 18 for this pattern).

Tuesday, 7 May 2019

Leaf Lace Socks

Leaf Lace Socks by Knitting Emporium on ravelry
My newest design is inspired by the leaves that we find all around us. I went out sketching recently on a lovely winter's day and the result was this pattern.

The stitch patterns are from Hitomi Shida's Japanese Knitting Stitch Bible . I like to play with the patterns and mix and match them to suit my design, which is what I have done here.


The socks are knitted top down in the round with a heel flap and turned heel. I know you should use wool with something in it to make the toes and heels sturdier but I love the feel of 100% wool so I have gone with Bergere de France Merinos 2.5 for these but any 4 ply sock yarn in a solid colour would be suitable. Here is a copy of the pattern information page.

Tuesday, 9 October 2018

Frosted Flowers Scarf


My newest design plays with chevrons and leaves in one colour. It was inspired by the abutilon flower which led to the cowl of the same name but this time I wanted to only use texture, hence the one colour version of the design. It is knitted flat.

One colour brioche appears not to be as widespread as two colour brioche stitch but is just as easy. In fact even easier because there are no brp stitches.
I love the reverse too, which is somewhat different to the front pattern but nevertheless enchanting. 

Even if Spring will soon be here I think there will be enough opportunity to wear this squishy scarf when temperatures drop. 

A note about the decreases in one colour brioche stitch. They are exactly as in two colour brioche stitch knitted flat. 

Purchase my pattern on ravelry: Frosted Flowers Scarf
                                  or etsy: Frosted Flowers Scarf pattern on etsy

Palm Leaf Brioche Wrap


This is a lovely squishy mohair wrap in two-colour brioche stitch. It was inspired by a visit to Viaduct Animal Sanctuary My daughter likes snakes and would like to own one but I feel that in fact visiting the snakes, reptiles and other animals there will make up for it. It will have to because I will not let a snake into the house. 
 They plant palm trees in pots to create an exotic atmosphere. 
The snakes themselves have so far not inspired me much although the patterning on them is beautiful and they move very gracefully.


 If you would like to purchase a copy of the pattern please click the link here: Palm Trees Wrap Pattern

Sunday, 24 June 2018

Davina Shawl Pattern


Suitable for beginners. More stylish than a scarf due to the lace border. Only requires one 100g skein of sock yarn, although it would be possible to knit it in other yarn weights. The size is easily adjustable. The shawl starts from a small number of stitches and the border is knitted on as you go. It increases and then decreases again, so that there are also only a small number of stitches to bind off. 

Saturday, 14 April 2018

Jen Shawl KAL for Invest in ME Research

When I discovered that 12 May is M.E. Awareness Day and that there were other people in the community who were fundraising I decided to give it a go. This is what I came up with, a pattern for a shawl. All proceeds will go to the charity: Invest in ME Research.

It is a quick knit, pictured here in Regia Design Line Kaffe Fassett Sugared Almonds and uses 100 g yarn. The appeal is not only the soft, squishy yarn in simple garter stitch but also the lace border. It has an eight row repeat which is easy to learn by heart after a few repeats. Also with cast on and bind off rows which have only 10 stitches respectively I know it is going to be popular with a lot of people.

The shape when opened out is a long, shallow triangle. If you use 100g yarn then it is a light accessory to throw over the shoulders when it is a bit chilly. However it is also ideal for cold weather because it can be tied as in the picture and therefore keeps all the cold air away from your neck, closing all gaps. It is nevertheless lightweight. You could of course make it larger by using more yarn.

The next surprise is the simple construction. Once you have the lace border and the rhythm of increases set up you keep going until you have used up just less than 50 % of your yarn by weight. I stopped increasing at 48 g, knitted straight without increases but including the border for one repeat and then continued the border repeat this time with decreases where there were previously increases.

The pattern is an adaptation of a Norwegian design called a Bactus. (See my previous blog post with free instructions for a simple shawl without lace border).

I have set up a facebook page for the KAL KAL for Invest in ME Research

100% of the proceeds from this pattern go to Invest in ME Research.
The pattern is available to purchase through ravelry: Buy pattern on ravelry or etsy: Buy pattern on etsy.com

Feel free to take part in the KAL by doing the easy Bactus style shawl instead. All you need to do is to donate via my JustGiving page instead:
https://www.justgiving.com/fundraising/laura-whittington4

Link to the Beginner's Bactus Style Shawl: http://knittingemporium.blogspot.co.uk/2017/01/baktusis-toothtrollfrom-norwegian.html

To knit the Jen Shawl you will need:

Yarn:
I have used Opal undyed (100g/420m) hand dyed in my own colour scheme but you could use any of the yarns I have listed:

Regia Design Line - Sugared Almonds - Kaffe Fassett (03772) (100 g/420 m): one skein (shown above)
or
Regia Design Line - Island - Arne and Carlos (03765) (100g/420 m): one skein
or
The Florist Collection Sock Yarn by West Yorkshire Spinners - Forget-me-not (801) (100g/400m): one skein.
or
Drops Alpaca Uni Color (3620) 100% alpaca 4ply (50g/167m): two skeins for a small shawl or up to four skeins for a larger version of the shawl shown.

Gauge:

Gauge is not crucial for this project. My gauge is 24 sts and 40 rows measure 10 cm square (4 inches square) in garter stitch using 3.5 mm needles (US 4) after blocking.

Finished size:  32 cm at widest point x 154 cm long after blocking. The size is easily adjustable if you would like to make it larger but would then require more yarn.

Materials:
3.5 mm knitting needles (US 4) or size needed to get the fabric you want. It should feel slightly looser than usual to make the shawl soft and give it drape.
Tapestry needle
Stitch marker


Wednesday, 23 August 2017

Zelda Scarf Pattern

Introducing the Zelda Scarf in one colour brioche stitch.


This aran weight yarn was custom dyed for me by  GamerCrafting on etsy. I decided to do a one colour brioche stitch scarf in my favourite leaf design and this is the result.


If you are new to one colour brioche stitch then in fact you can rest assured it is easier than two colour brioche. There are only brk stitches, no brp or purl stitches. You can used single pointed needles because you turn after every row and also the increases and decreases are the same as for two colour brioche. 

I have made two YouTube tutorials covering all the techniques used in this scarf. One using the English yarn hold


and the second using the Continental yarn hold. 


Monday, 31 July 2017

Butterfly Baby Blanket


I have fallen in love with this beautiful Japanese stitch pattern. I love the texture and to add to the appeal it is deceptively easy. I have filmed a youtube tutorial showing all the patterning, including the p2tog tbl on the wrong side row.

You can buy the full pattern which has been test knitted and tech edited for your convenience. Buy the Butterfly Baby Blanket here.


Friday, 14 April 2017

"Paperflower" Two-colour Brioche Stitch Scarf

The idea for this scarf came from my daughter who hand dyed the pink variegated yarn and asked me to knit a scarf for her. She chose the red background colour and so the "Paperflower Scarf" came to be. 

Thursday, 13 April 2017

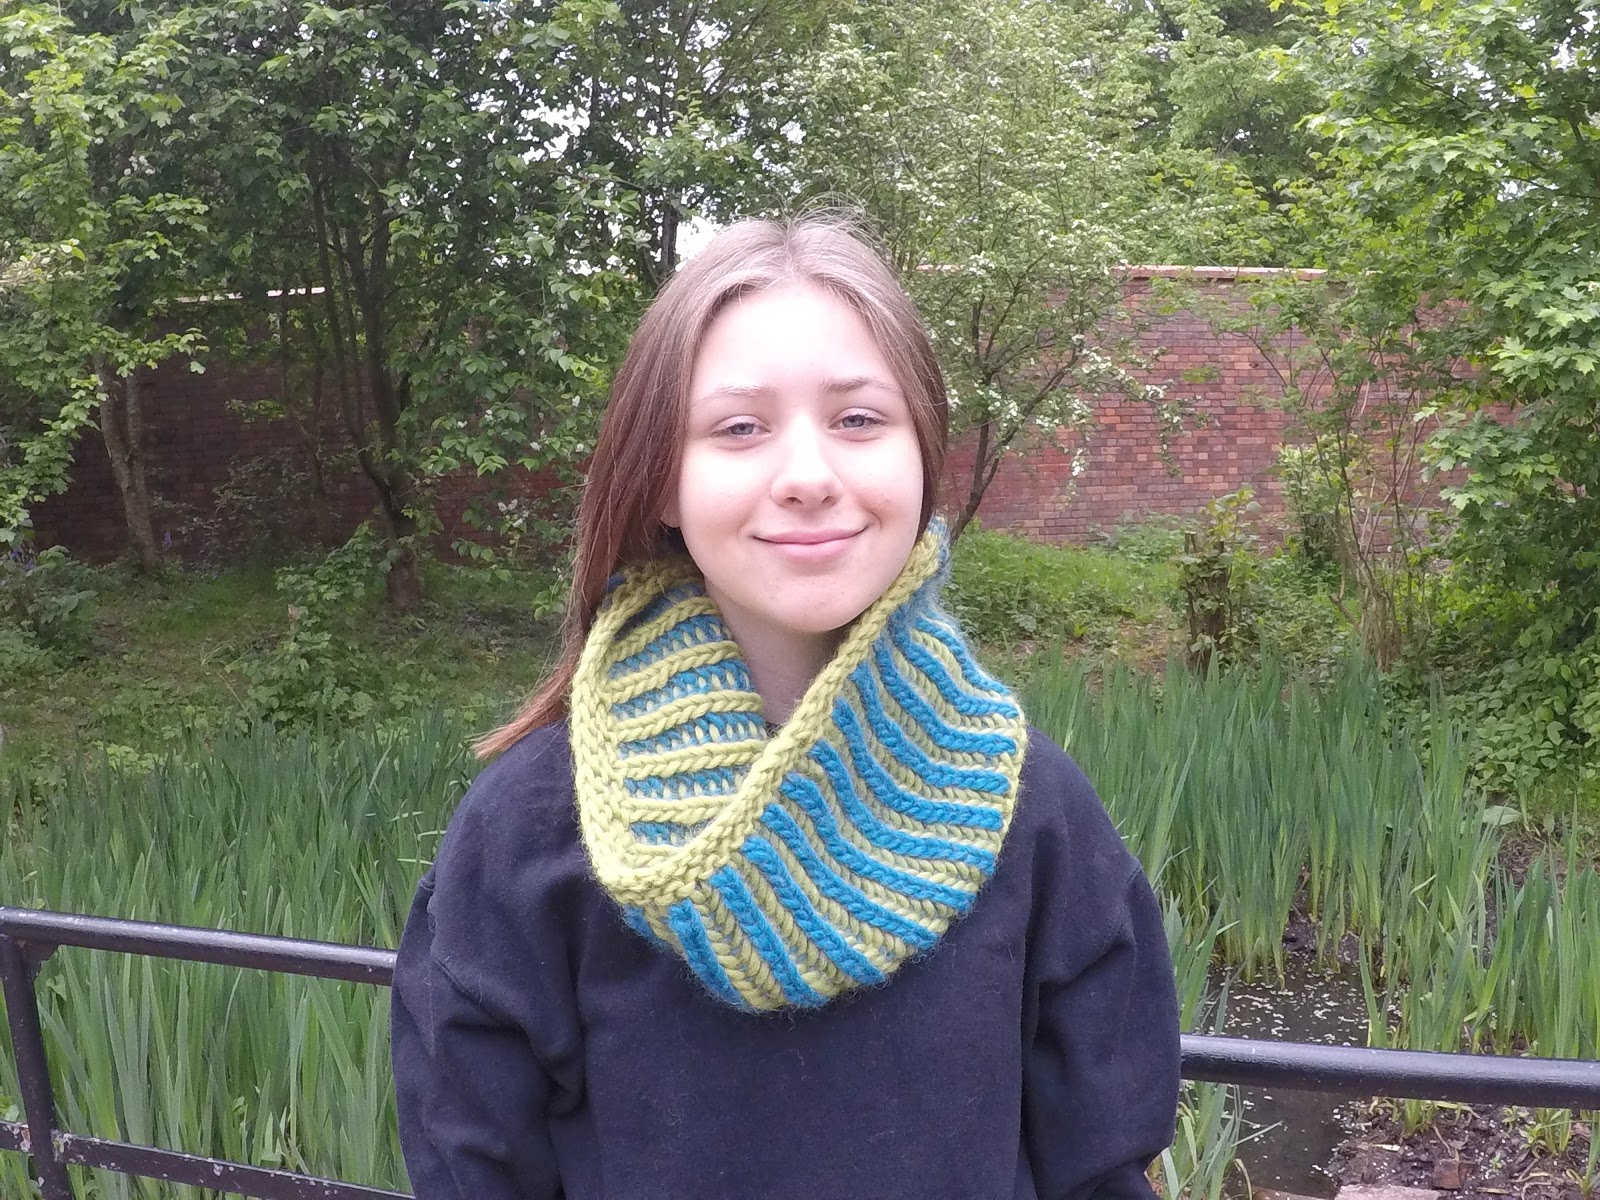
Free Pattern for a two-color brioche stitch cowl in the round


This cowl features bold colour contrasts and is knitted in a super chunky yarn so that it is quite a quick project. The instructions are essentially those for knitting two colour brioche stitch in the round. The written instructions are free below or alternatively:  Try a free trial of skillshare to watch my class on how to make this cowl. 

Thursday, 6 April 2017

Crescent Shawl

Wave Shawl Pattern

This lovely crescent shaped shawl is very simple to knit. It drapes around the shoulders, showing off the lace border. The shawl is wider than it is deep so that it can be wrapped around the neck too. Free written pattern below...


Thursday, 30 March 2017

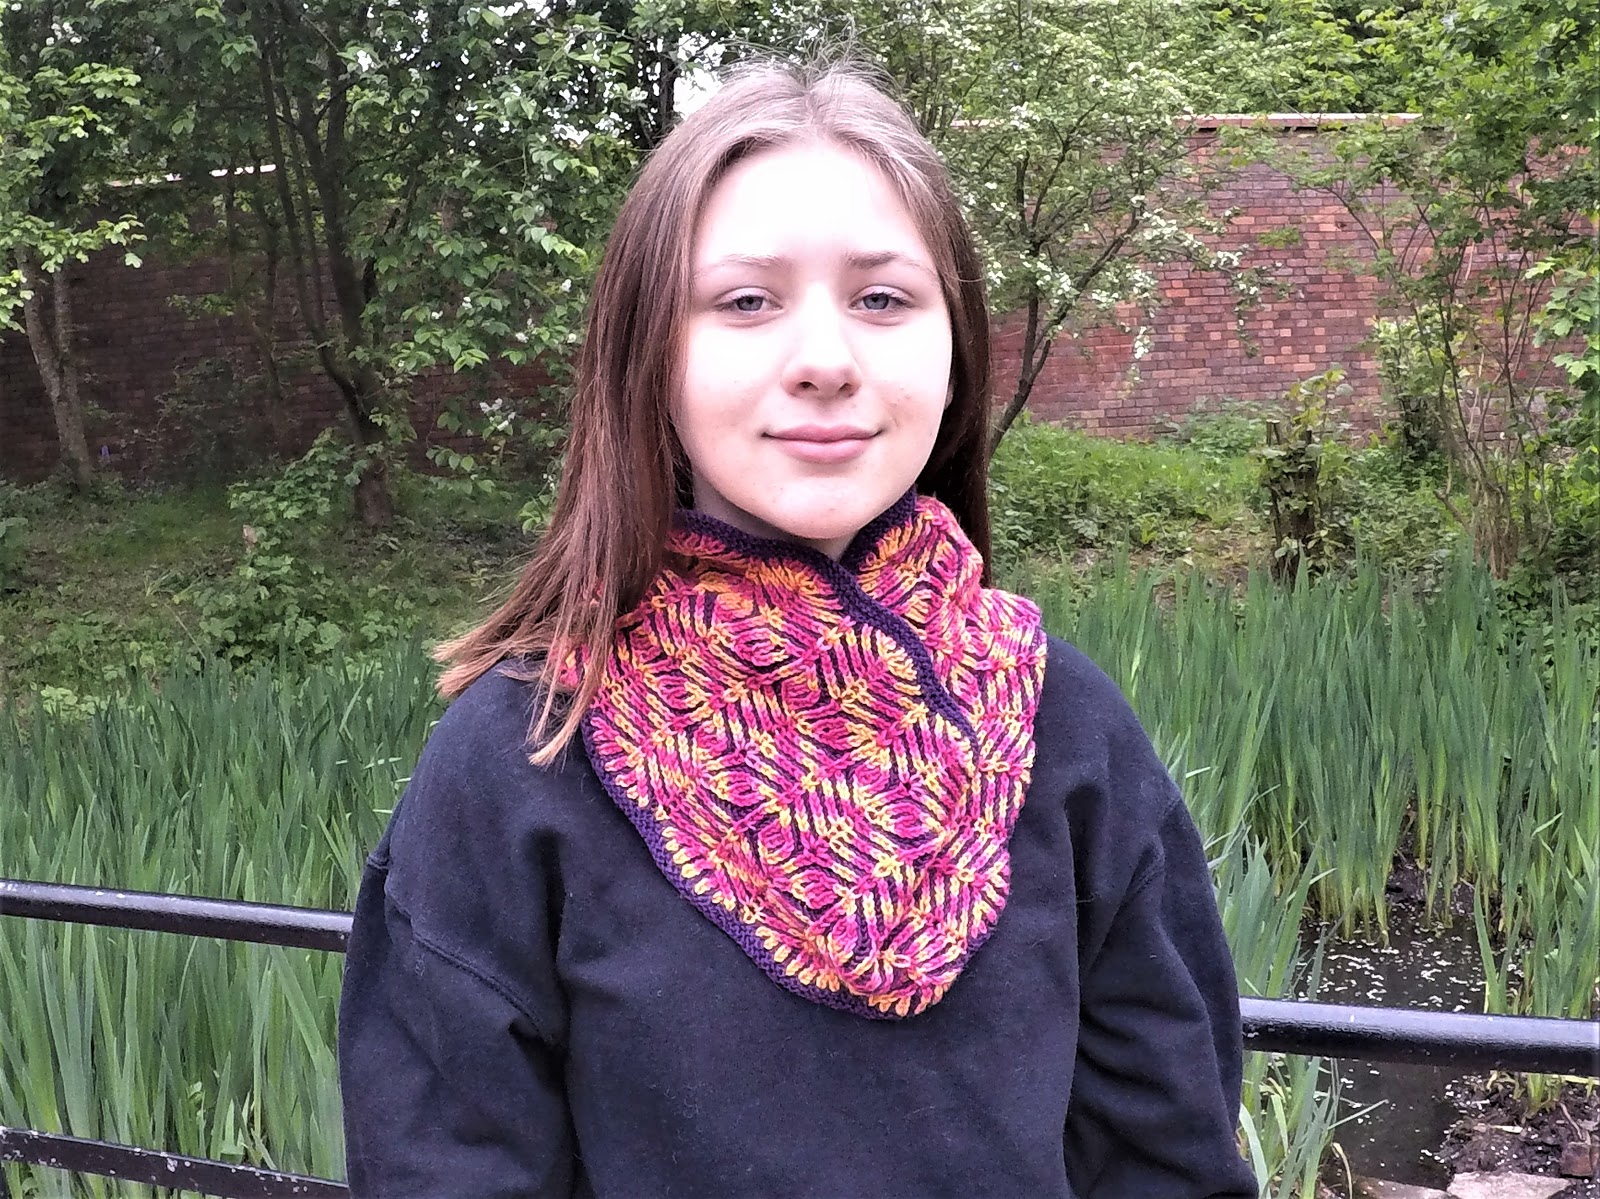
Branching Leaves Brioche Cowl Pattern

The stitch pattern for this cowl resembles Branching leaves, hence the name. I created it while playing with the "wavy buds" pattern by changing the decreases to those used when knitting brioche in the round. You can watch my skillshare class and learn to knit this cowl (including pattern) for free if you sign up to a free two month trial.
       

Tuesday, 14 March 2017

"Samba" Shawl Pattern (Sideways Knitted Triangular Shawl)

My version of this sideways knitted triangular shawl has two row garter stitch stripes and a slipped stitch selvage. It is immensely comfortable to wear because the biased fabric wraps itself around the body very readily. 


I have published the pattern on ravelry: Samba Shawl on ravelry.

Monday, 13 February 2017

My newest skillshare class covers increases and decreases in brioche knitting (when knitting flat)


This class shows you how to do brioche stitch using two colors and increases and decreases when knitting brioche stitch. To watch the class for free sign up for a two month trial of skillshare with no charge if you cancel in the two month period. 


Monday, 30 January 2017

How to knit decreases in brioche stitch when knitting in the round.

While researching my latest brioche stitch pattern I tried to find a way to do decreases when knitting brioche stitch in the round. The two-stitch right-leaning and left-leaning decreases were easily found by consulting Nancy Marchant's book "Knitting Brioche", however she made no mention of a four stitch decrease when working brioche stitch in the round. 

I had a look at the two stitch decreases and decided that if I used a brssk next to a brk2tog then the result should be a brioche four stitch decrease. I tried it and it worked! Read about this and information on how to perform two-stitch brioche decreases in the round below.


The result is my newest pattern, the "Abutilon Cowl" in two color brioche stitch. Available to buy on loveknitting,  Abutilon pattern on loveknitting.com, ravelry.com Abutilon pattern on ravelry.com or on etsy.com Abutilon pattern on etsy.com
Below is a written explanation of the decreases when knitting brioche in the round.


First it is necessary to understand the left and right leaning two stitch decreases:  

Explanation/abbreviations:

brssk:  Slip one stitch knitwise (a stitch with yarnover counts as one stitch), slip next stitch knitwise, insert the left hand needle into the fronts of these two stitches and knit them together.


brk2tog: Reach under the yarnover and brk the next two stitches together. The yarnover then falls behind the stitch when it is slipped off the needle.

sl2yo:  With yarn in fornt, slip two stitches and take yarn over needles and forward to brp the next stitch.

sl3yo:  Slip three stitches and take yarn over needles and forward to brp the next stitch.

brcdd:  Slip two stitches together knitwise under the yarn over while leaving it in
place, brk the next stitch with the yarn over, pass the two slipped stitches over the brk stitch. This is a symmetrical decrease. By avoiding the yarnover until you knit the third stitch the contrasting yarn will not be worked into it but sit behind it.

Brioche right leaning decrease (worked in the round):
This is a two st decrease.

First step: Work to sl1yo, the next stitches on the left hand needle are a MC
stitch with a yo, a CC stitch and another MC stitch with yo. Brssk the first two together and (without doing a yo) immediately, brk the next stitch. This decreases the stitch count by one and there are two MC sts next to each other.

Second step: In the brp round work to the two MC sts. Slip both together purlwise
and take the yarn over the needle to brp the next stitch.

Third step: Work to the two MC sts next to each other with a shared yo. Brk these two stitches together with the yarnover, again decreasing the stitch count by one.

For one-colour brioche stitch this works in exactly the same way but all stitches are the same colour. 

Brioche left leaning decrease (worked in the round):
This is a two stitch decrease.

First step: Work to sl1yo, brk the next stitch. Without doing another yo, immediately brk2tog.
This decreases the stitch count by one and puts two MC sts next to each other.

Second step: In the brp round, work to the two MC sts which are next to each other. Slip both together purlwise and take the yarn over the needle to brp
the next stitch.

Third step: Work to the two MC sts which are next to each other with a shared yo.
Brssk these two stitches.
This step also decreases the stitch count by one again and by two stitches in total.

The same method is used for one-colour brioche stitch.

Brioche four stitch decrease (in the round):

Step 1: Work: brssk, brk brk2tog. There are three MC sts next to each other.

Step 2: In the next round, work these three stitches as follows: sl3yo.

Step 3: In the next round, leave the yarnover in place on the needle when you slip the first two stitches, brk the next stitch with the yarnover, then pass the two slipped stitches over it. 
In total four stitches have been decreased, two in step 1 and two in step 3.

In this way, I have made a cdd into a brcdd (brioche central double decrease). I feel as if I have invented it or perhaps re-invented it, if ever anyone has invented it before. If so I am perhaps the first person to write it down. Let me know. Either way, the instructions for it are above or you can try it out by purchasing my "Abutilon Cowl" pattern. Abutilon pattern on ravelry.com

Happy Knitting! 


Illusion Knitting

Elephant in Illusion Knitting Illusion knitting is the easiest thing and also highly effective. You knit fabric in two row stripes. On the ...